 Pool Tiles
7 Unique Tips for laying the Herringbone Tiles Pattern…
The herringbone tiles bring a unique pattern that can work for both interior and exterior parts of a structure. Whether the system is new or newly refurbished, you can use the herringbone tiles pattern for a classic design. This article focuses on using this pattern for your bathroom tiles, including the wall and the floor. The remodeling project of a bathroom can restore the glory and beauty of the home when you pick such a classic choice.
What are the helpful tips that can make this dream a reality? The remodeling project will involve updating some specific features in your bathroom. For example, you may have to review the following:
- Lighting
- Fixtures and hardware
- Sink
- Flooring
- Paint
- Mirror
- Shower tile
- Shower door
- Cabinetry
It looks like you have to touch practically everything in the bathroom. But let us take the tips one after the other.
Start with the most crucial element in your bathroom
Apart from using a bathtub or a shower, the most critical element in the bathroom is the countertop. It is crucial for many reasons. One, it gives the most conspicuous look and feels of your bathroom. It is usually a costly choice to make, which makes it very important. You may consider changing from a granite top to using quartz as the cover. The benefit of this decision is that you can now have a cleaner and the classic jump-off point for the rest of your redesigning project.
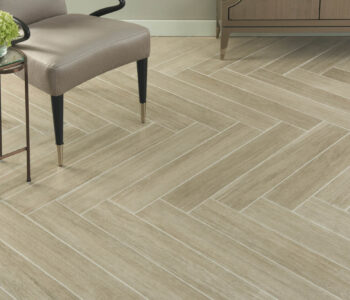
You now have to make the next decision about the flooring and shower tiles choices. And this is where the choice of herringbone tiles pattern comes in. The long subway tiles will be the recommended tile to use in this pattern. To complement the outlook, you should go for grout with a contrasting color to the herringbone tiles.
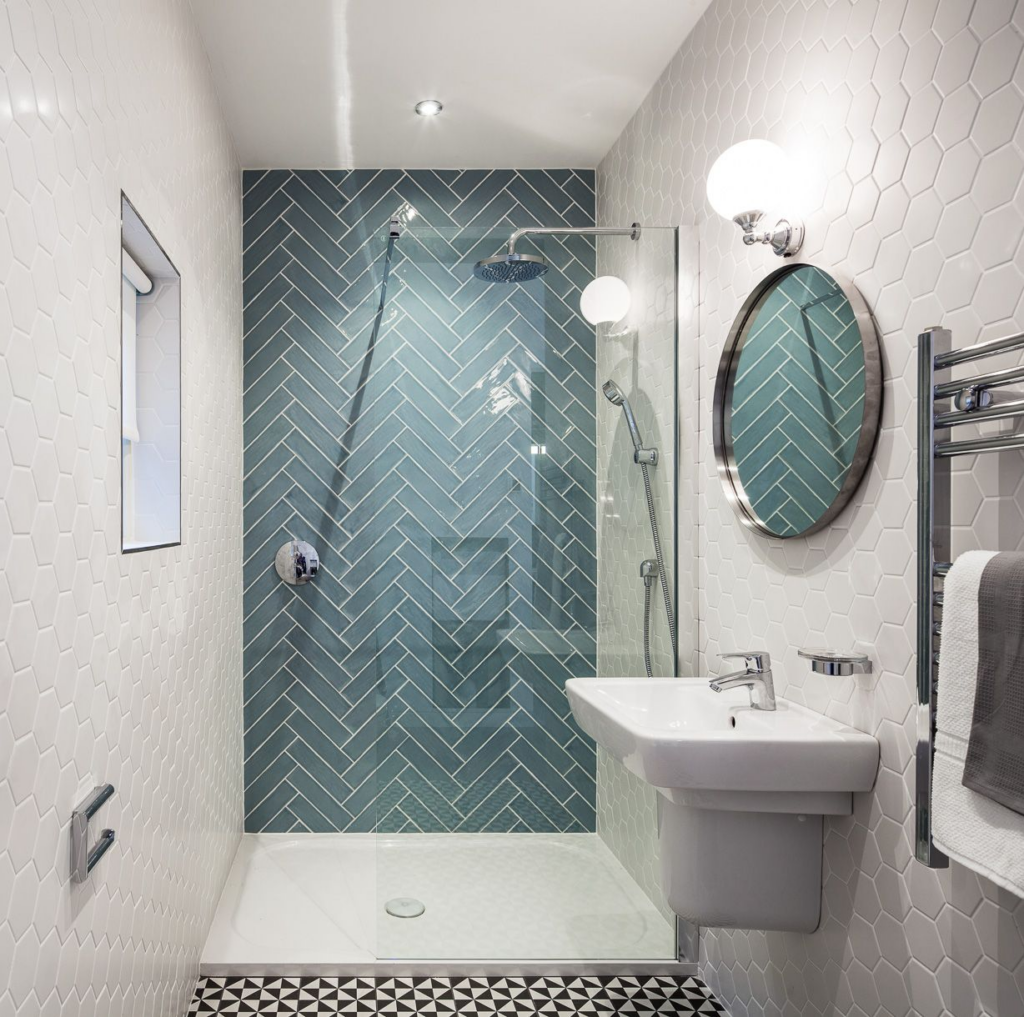
In a specific case of a small bathroom, we needed to reduce the choppiness of the transitions that we had. There was also a need to install a seamless glass shower door that could harmonize both the shower and overall bathroom flooring. It would help if you considered the herringbone tiles pattern or used the flattened hexagon tiles that can be run vertically for the best effect output. While the contractor expected an enormous vanity, we arrived at a better plan.
Consider the floor plan in terms of function and design
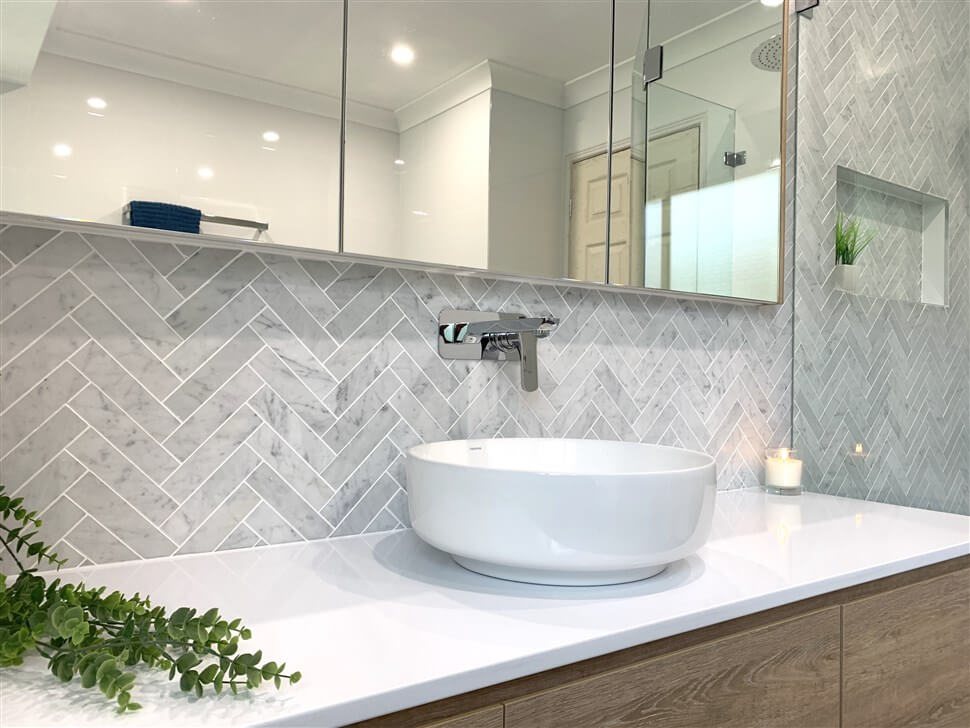
One way we thought of bringing new beauty to the sources and materials in the bathroom. An example is a sink on the vanity, which could be part of the artistic effect of the bathroom we are trying to create. Although sconces may be a trendy choice, they are still considered very classic and timeless compared to the light features. At the same time, they tend to cast a better light on the flatter hair and makeup.
Therefore, you should not place a sink and a mirror in an off-center position to the vanity cabinet in the bathroom. Otherwise, it will create an awkward negative space on the wall, especially on the right side of the mirror. Often, the best tool for testing the paint colors is sample boards. But with a good choice of the herringbone tiles when crafting a design, you can be confident of an impressive final output. You can also read about Why you need black tapware for your bathroom renovation by visiting http://paigemarion.com/why-you-need-black-tapware-for-your-bathroom-renovation/
Avoid a harsh glare with frosted light bulbs
Since the bathroom mirror is bright enough for use, no one appreciates looking at a harsh light through it. This is why we need to carefully choose the light bulbs to use, in this case, the frosted light bulbs, in the bathroom. My experience with the ceiling light fixture returned with positive feedback from the client. Such a ceiling is an excellent way to complement the affairs of the bathroom interior, especially if you have the herringbone on the wall or the floor. You may also work the pattern out by repetition.
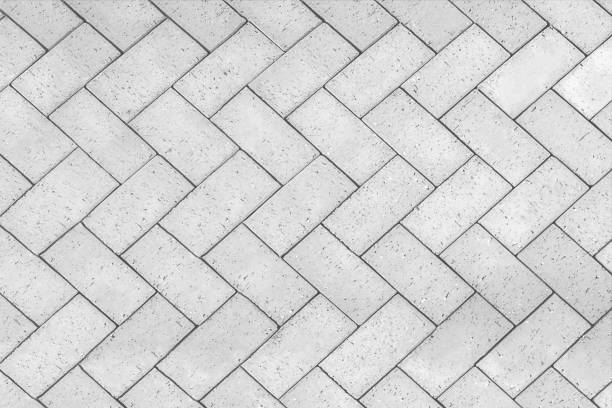
Create a pattern by careful repetition
The repeated shapes of the floor or wall pattern show the shower’s echoes that one may begin to see in the reflection. Similarly, a dark gray-colored cabinet with a perfect foil matches the nickel finishes. However, when choosing this pattern, be mindful of not reaching the elements because you need to create a contrast for beauty.
Tie all the interior elements with grout color
Another critical element of the setup is to choose a dark grout herringbone tiles pattern, which builds a perfect match. There is also a new bit of subtle repetition that can enhance the shape. Note that the herringbone tiles pattern comes rightly from long rectangular subway tiles. This way, you build an intelligent repetition of the insets, drawer shapes, and pulls. The beauty of the flooring transition is also evident, provided that the grout color pulls them together.
Lay the herringbone tiles to reach the ceiling
An essential way to enhance your bathroom design is to lay the herringbone tiles to reach the ceiling. As a result, the roof appears to be taller than it, and the shower or If you try this expression, you can maximize the space you have while optimizing the creative design. Click here to read about The Best Bathroom Lighting.
Which tiles do you cut when laying the herringbone tiles?
The best answer to this question is to master what it takes to get the best result. Therefore, the tiles that receive the cut depend on the area where you are laying the herringbone tiles. Also, we recommend that you use some adhesive such as glue and hot wax when laying these tiles.
This application is essential before you even lay the tiles at all. You can now begin to cut the tiles to fit into their rightful places. After identifying the ending tiles, you can now start to mark them with a marker and cut them. Meanwhile, not that the cut should be at an inclined angle of 450 if you are working out a herringbone tiles pattern.
Conclusion
On a final note, the herringbone tiles pattern is cheaper and easier to use. And the primary reason is that you can use tiles of different materials as long as it has a rectangular shape. At the preparation stage, you will also have to work by the measurements of the space.